Effortless UI Spring Animations: A Two-Parameter Approach
Creating smooth UI spring animations shouldn’t be so complex. Using parameters like mass, stiffness, and damping can be both time-consuming and unintuitive. In this post, I’ll introduce a simpler method that uses just two parameters—bounce and perceptual duration—to make crafting spring animations easier and more intuitive.
Before diving in, it's helpful to have a basic understanding of spring animations. If you're new to this topic, check out these resources: Animate with springs from Apple WWDC and A Friendly Introduction to Spring Physics.
The Physics Approach
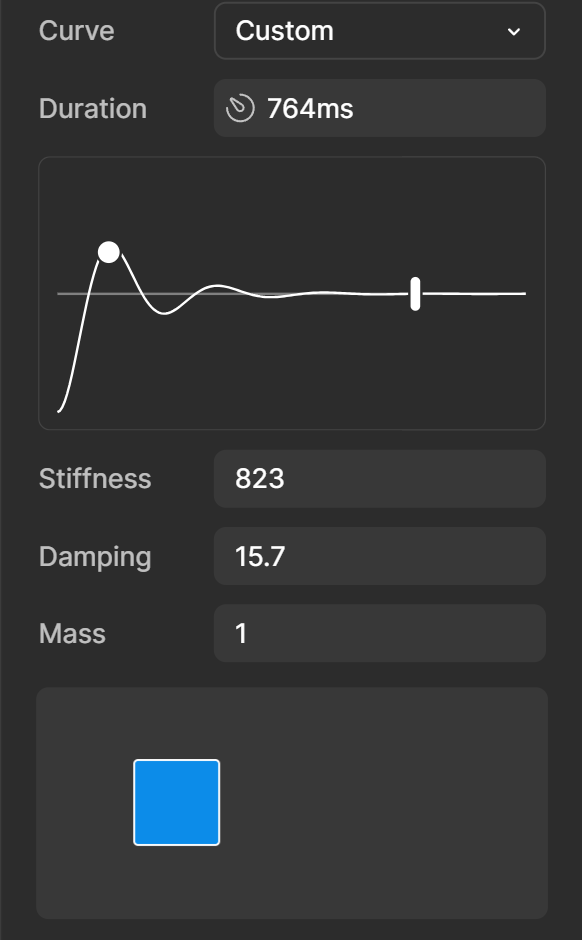
When configuring spring animations, there's what I'll call "The Physics Approach". This involves defining mass, stiffness, and damping (names might vary across tools) to create the animation.
While you might understand the effect of these parameters on a spring, this method is often the least intuitive for creating a UI animation because there are too many possibilities and too much to think about.
I think this paragraph from How Figma put the bounce in spring animations sums up how I feel about this approach:
"It turns out that tweaking mass, stiffness, and damping by hand can be pretty tricky. While these parameters represent physical constants, we as UI designers working with animations don’t necessarily think in terms of pure physics. We want animations to be faster or slower, to be more bouncy, or to have less overshoot—all terms that would make a physics professor break down in tears."
A Simpler Way
Recognizing the need for a more intuitive method, some tools now offer a way to create animations using only two parameters.
For example, Figma provides a panel with the "Physics Approach" parameters, but it also allows adjustments using two handles: one for bounce and one for duration.
Understanding Bounce
Defining bounce is fairly intuitive. At 0%, the animation transitions smoothly from one point to another. At 100%, the animation continues to bounce back and forth indefinitely.
You can adjust the bounce to achieve the desired amount of springiness. More bounce means more springiness, while less bounce means a smoother transition.
Duration
While using bounce is straightforward, the parameter for duration presents some challenges.
Why I Don’t Like Using Duration (Settling Duration)
Springs theoretically never come to a complete stop; they continue moving indefinitely. Tools that use duration often rely on a settling duration—the time until the spring appears to stop moving. This settling duration is calculated differently depending on the tool and its tolerances.
As we can see in the example below, if we have an animation with 0% bounce and a settling duration of 300ms and we want to increase the bounce to, say, 70%, suddenly the animation feels a lot faster. The curve of the animation looks like it stretches.
And don’t get me wrong; I understand why it makes sense for the animation curve to "stretch." I just don’t like it.
Perceptual Duration, the Better Option
In Animate with Springs from Apple WWDC, it's mentioned that in SwiftUI, the duration parameter represents a perceptual duration. This is chosen to be predictable and consistent, even as other spring parameters change.
This method provides a more intuitive way to set the duration of a spring animation. It focuses on the key part of the animation, allowing changes in bounce without affecting the perceived duration.
See the same example as before but now using the same perceptual duration for both animations.
Now, the animations don’t settle at the same time, but for me, the key part of both animations seems to run at the same time.
Transitioning from Easings to Springs
If you’re reading this, you probably know what easings are and have a good grasp of how they feel, what they’re useful for, and how long they should last.
You’ve probably also read posts explaining things like:
"Simple feedback animations, such as showing a checkbox, should be roughly 100 ms ... When animation involves substantial screen changes, a duration of 200–300 ms can be appropriate ... At 500ms, animations start to feel like a real drag for users" - from this article
This is good advice, but if you’re using a settling duration to define your spring animations, all of this knowledge about animation duration is lost. You can see that the spring animation doesn’t seem to align with how easings behave; the spring animation has most of its movement rapidly at the start and then a long settling time.
When you use a perceptual duration to define the spring animation, this is mostly solved.
Because the perceptual duration contains the key part of the animation, you can now apply all of those tips about how long your animations should be. More importantly, you can now use the taste you’ve already acquired from using easings to set the duration in your spring animations.
How to Create Animations Using Bounce and Perceptual Duration
In Animate with Springs from Apple WWDC, equations for converting bounce and perceptual duration to mass, stiffness, and damping are provided. However, these are incorrect. Thankfully, a thread from the Apple Developer Forum provided the correct equations:
mass = 1
stiffness = (2π ÷ perceptualDuration) ^ 2
damping = ((1 - bounce) × 4π) ÷ perceptualDuration, bounce ≥ 0
damping = 4π ÷ (perceptualDuration × (1 + bounce)), bounce < 0
For web animations, I’ve developed two tools that utilize these parameters: CSS Spring Easing Generator and tailwind spring plugin.
Conclusion
By using just two parameters—bounce and perceptual duration—you can simplify the process of creating spring animations, making it more intuitive and efficient for designers and developers. This approach focuses on how an animation feels and its timing, rather than the complexities of physics-based parameters.
I’d love to hear your thoughts or questions on this approach! Join the conversation on this Tweet.